|
Mexico SS1600 & Two Country SS1000 Part Of The "Bad As You Want To Be" Series |
|||||||||||||
|
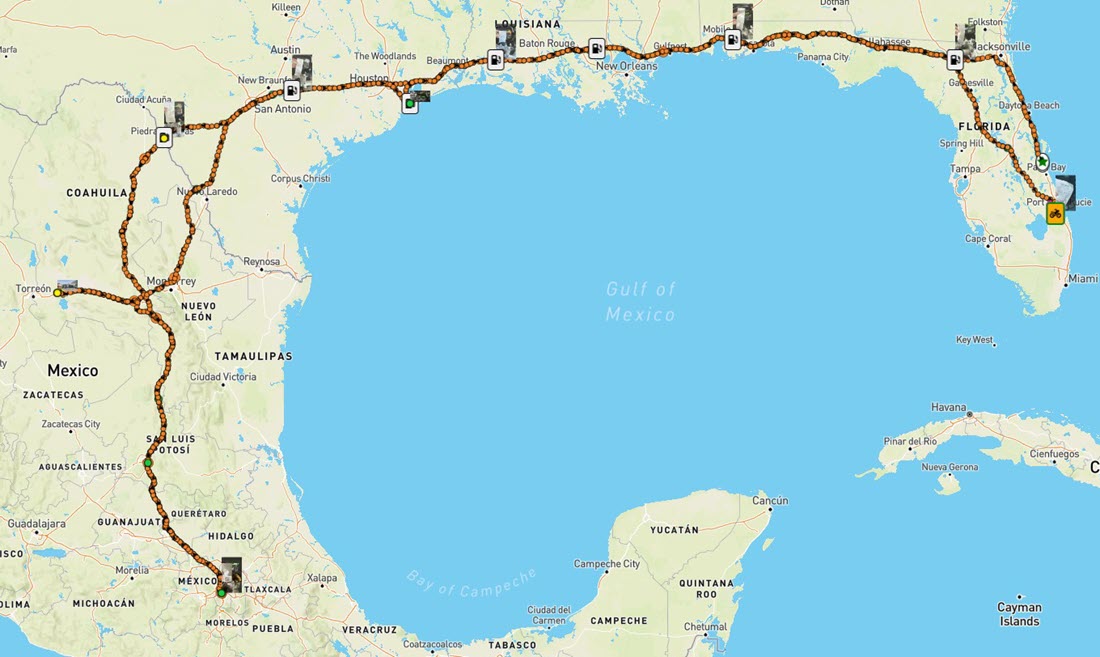
Click On Above Map Image For Interactive Google Map Below |
|||||||||||||
|
Ride Signup Mexico Ride Planning Ride GPX File The Gear Spotwalla Tracking Weather |
|||||||||||||
|
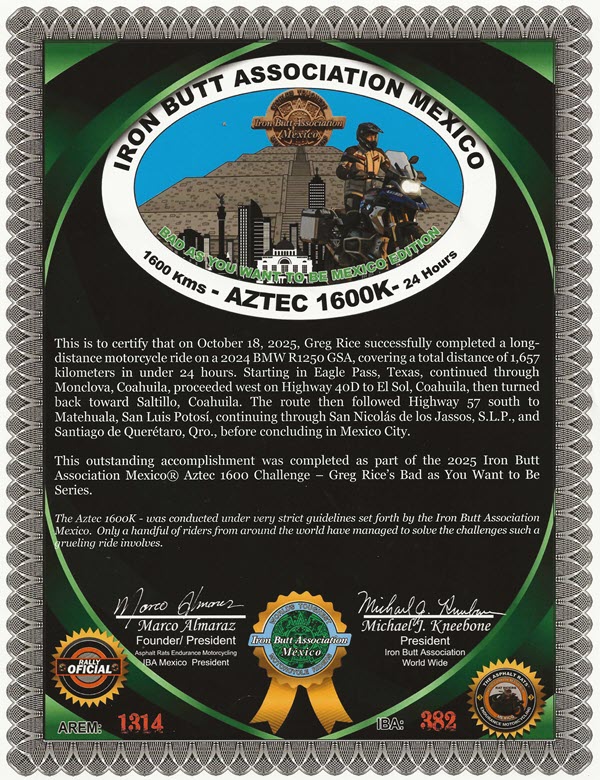
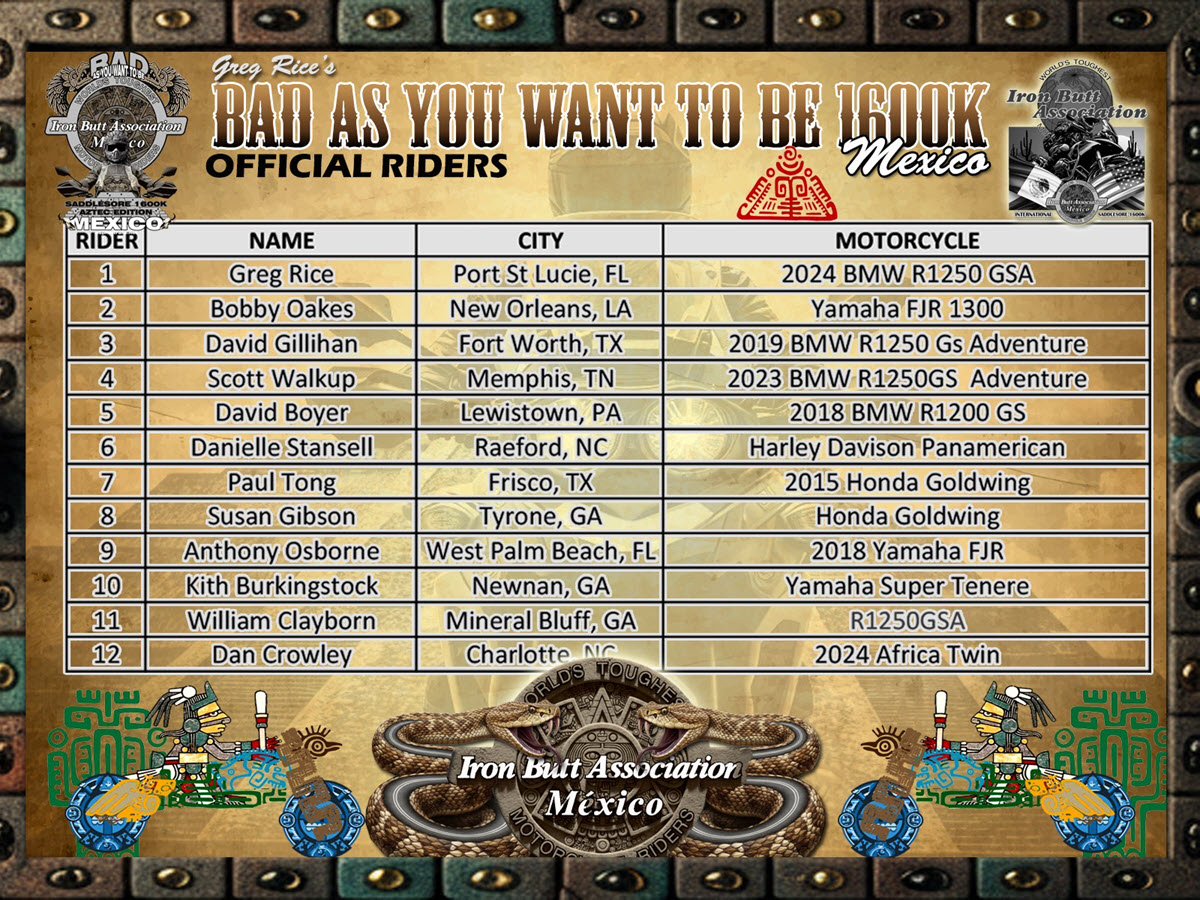
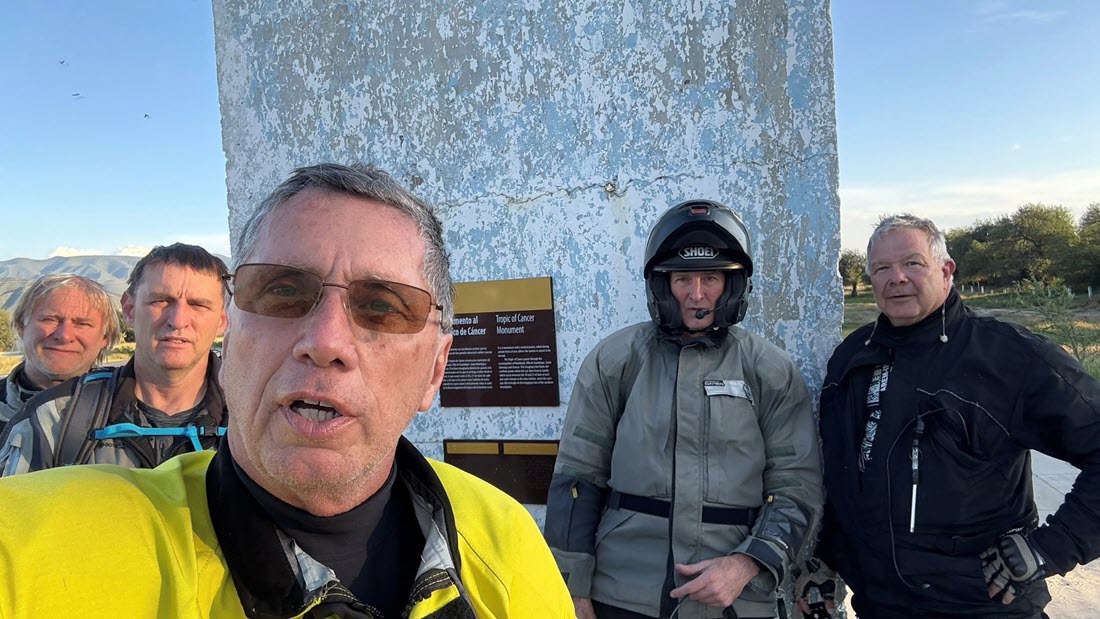
2025 Mexico SS1600 ( SS1000 ) & Two Country SS1000 All Riders Who Particpated Completed Both Rides! Here Is A Link To My Previous Mexico SS1600 Ride - September 1, 2024 Start Time & Date - 4:00 AM October 18, 2025 At Eagle Pass, TX It's time to start planning another Mexico SS1600 ( SS1000 ) ride! On the last Mexico SS1600 ride I took six friends with me on September 1, 2024 and we rode 1,030 miles all in Mexico and the ride was a big success! Now I am planning another ride that will start in Eagle Pass, TX on October 18, 2025 and will end in Mexico City to complete a IBA Mexico SS1600. The route is 1,652 kilometers ( 1,033 miles ) all in Mexico mostly on nice four lane roads. It should take us around 18 hours to complete the ride. We will then spend two nights in Mexico City ( Saturday and Sunday ) and start the return ride back to the US around 6:00 AM on October 20, 2025. The ride back to the US will be called a Two Country SS1000 ride Mexico City to Texas City, TX on October 20, 2025 and that ride should also take around 20 hours. I have done five IBA rides in Mexico and each one was a success and a lot of fun. There is a fee for the ride is $125.00 paid to IBA Mexico, information is below. This is going to be a nice ride for those who have not ridden in Mexico before but are experienced IBA long distance endurance riders looking to get a international IBA certificate. The route is all on paved roads and most of the roads are four lanes highways very similar to interstate highways in the US. A lot of the route is a toll road and you will need Mexican currency or toll transponder to pay the tolls, see more below. We plan on starting around 4:00 AM in Eagle Pass, TX and crossing the border into Mexico at Piedras Negras. We will be crossing a bridge that you will have to pay a toll, keep the receipt as that is your starting receipt for the ride. We will ride straight to the Banjercito / Aduana ( Customs ) office about 40 miles south of the border to get our passport stamped and our ( FMM ) also known as Tourist Card and TIP if you have not already done that online which is very easy to do. The Banjercito / Aduana ( Customs ) offices are open 24 hours so you can check in and check out of Mexico anytime. Once we finish the paperwork we will head south on highway 57 towards Monterrey and then on to Mexico City. We will spend two nights in Mexico City and have a day off from riding to do a little tourist stuff before we start the ride back to the US on October 20, 2025. The ride back to the US will be a Two Country SS1000 starting in Mexico City and ending in Texas City, TX. We had our first Zoom meeting August 14, 2025 and I will have one more Zoom meeting around September 18, 2025.
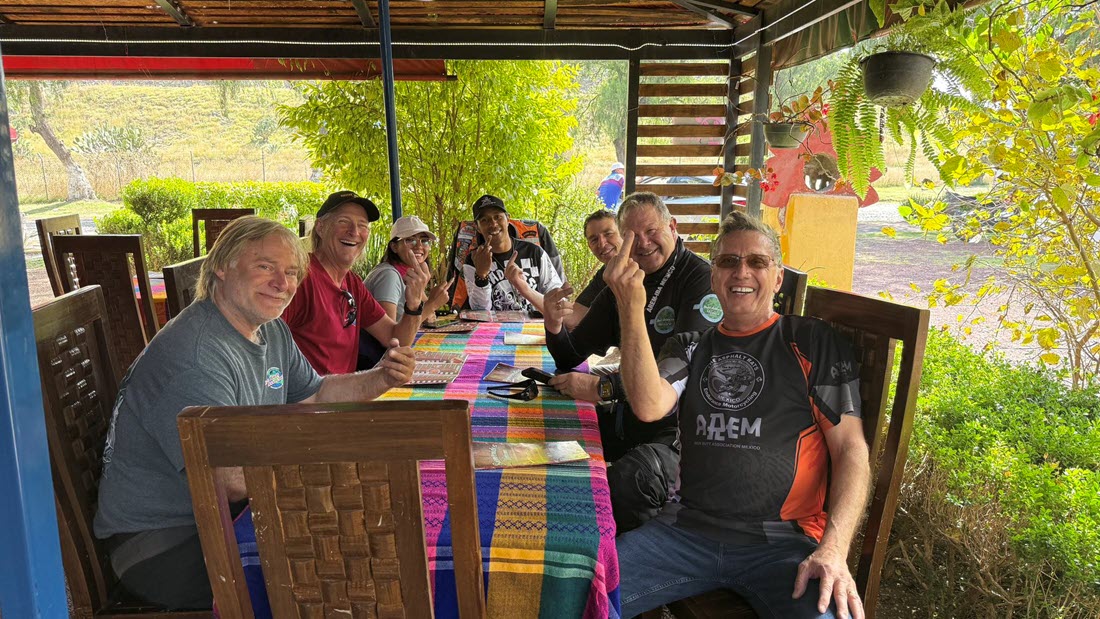
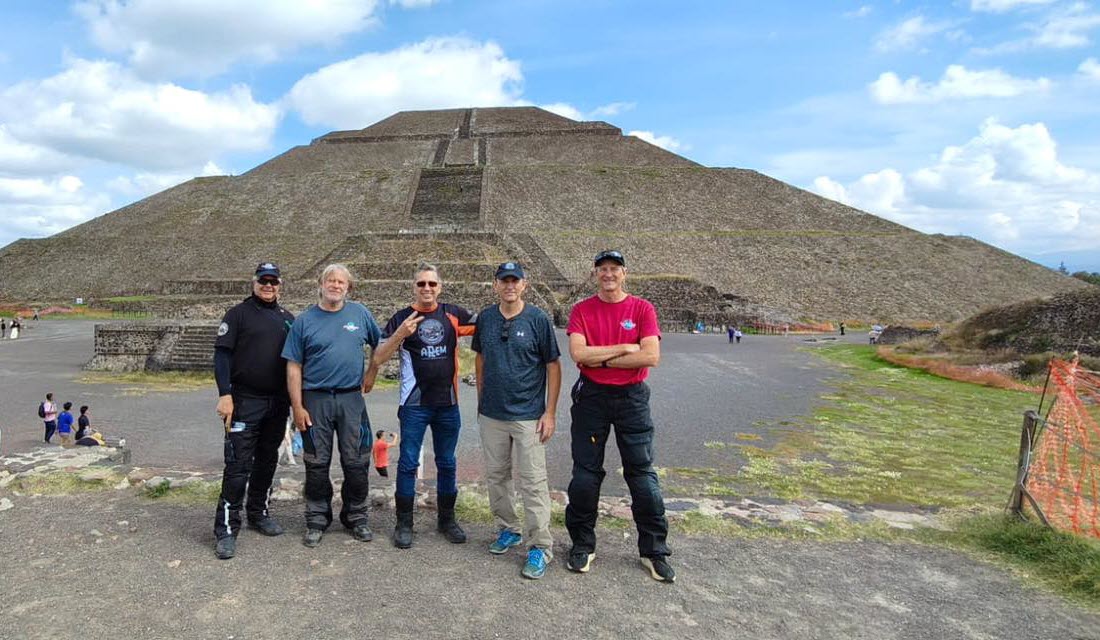
We all completed the Mexico SS1600 and the Two Country SS1600 rides |
|||||||||||||
|
|
|||||||||||||
|
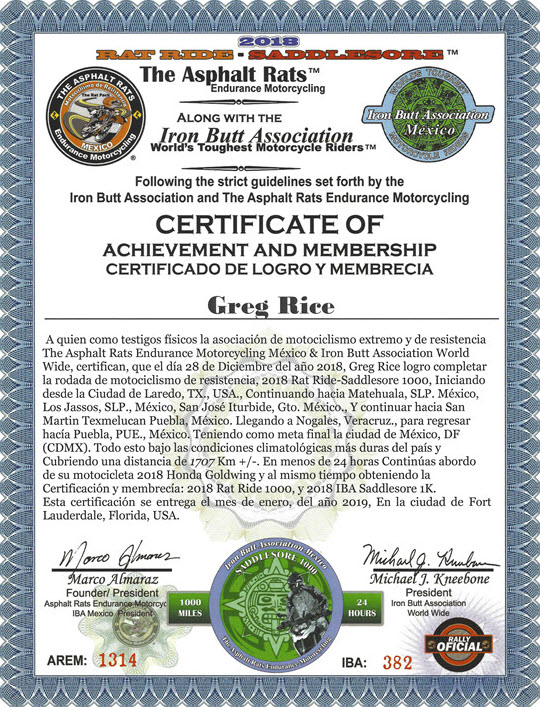
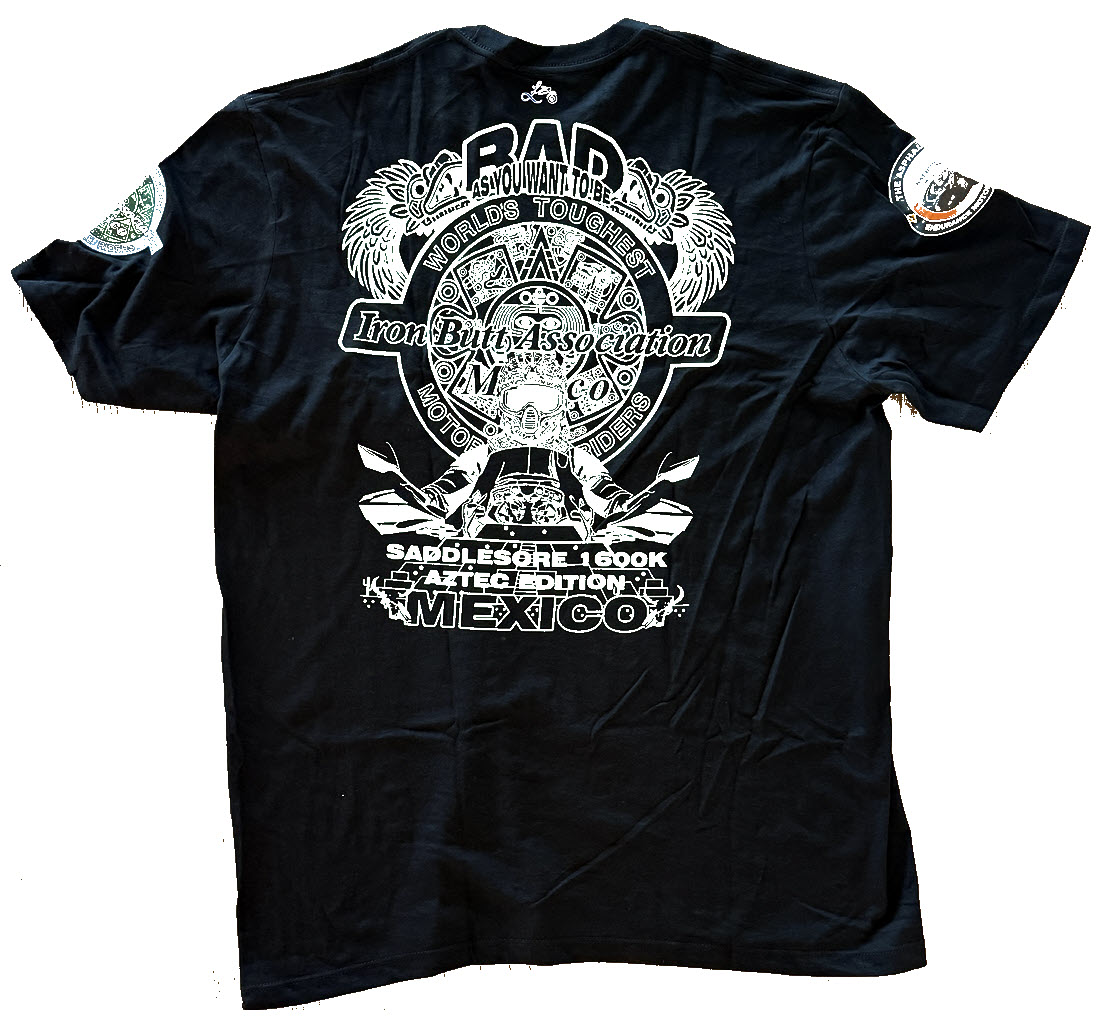
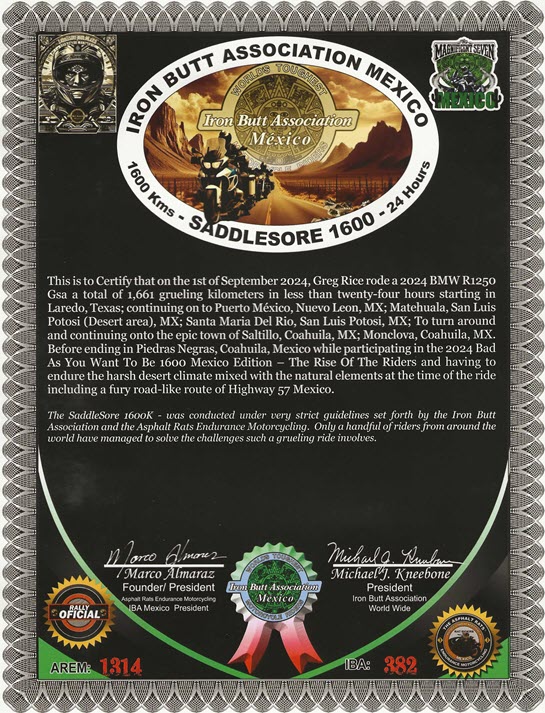
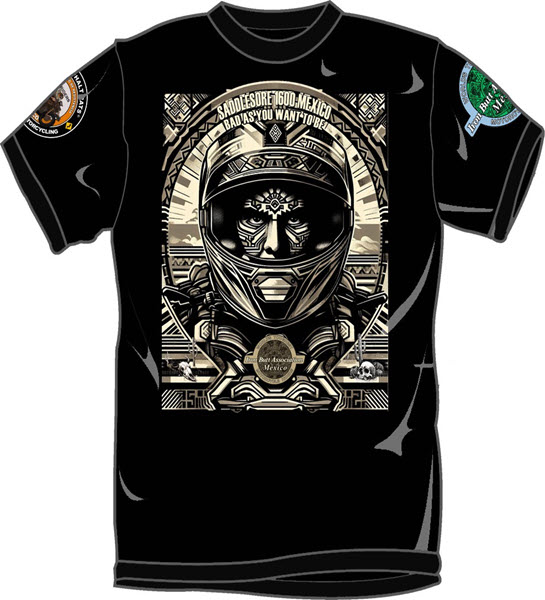
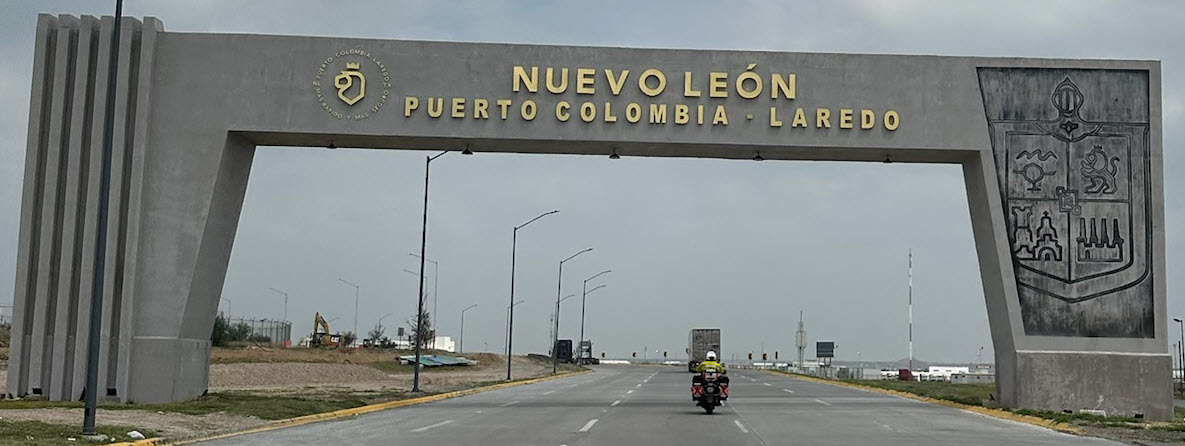
We will be starting the ride in Eagle Pass, TX around 4:00 AM on October 18, 2025 and ending that night in Mexico City at the Holiday Inn Ciudad de Mexico-Trade Center hotel. This hotel has secure underground parking. We will spend two nights in Mexico City. While in Mexico City we can do a little tourist stuff if you like. We will start our ride back to the US on Saturday morning at 6:00 AM on October 20, 2025 riding back to the US through the Colombia, Mexico border crossing, just west of Nuevo Laredo. On the ride back we will be stopping at the BMW Motorrad dealership in Monterrey, Mexico to check out the dealership. In the past I have ridden five IBA rides in Mexico before including a SS1600 on December 28, 2018, see the certificate below, and I had a blast. Since then I have ridden in Mexico five more times and each time I had a great time. I do NOT speak Spanish and never had any issues. Most of the places you may stop the people working there speak some English and that is why I choose a route where language is not really going to be an issue. I always felt safe while riding in Mexico even while sleeping on the ground at locations. It could be COLD riding in Mexico as we will be riding in the mountains where the elevation is around 8,000 feet. Mexico City's elevation is 7,500 feet. You will need heated gear for this ride as when I was in Mexico in late December in 2018 it was 21 degrees at around 6,000 feet. This ride is NOT for newbies / beginners it will be a hard long distance endurance ride including riding some at night in Mexico! Riding in Mexico is not somewhere to find out that long distance endurance riding is not for you. If you do not like to ride at night or ride at night in Mexico then this ride is not for you. To do this ride with us you should have already been riding long distance endurance rides and have completed multiple IBA certified rides. You must have a 200+ mile fuel range to do this ride with us, an auxiliary fuel tank is highly recommended. During this ride you will be responsible for all of your actions and will be responsible for all costs you incur. If you have any questions about this ride and if it is a good ride for you please reach out to me. The ride sign up page will open July 15, 2025. There is a fee for the ride that covers the IBA Mexico ride certification, t-shirt, patches, decals and pins. The fee is $125.00 paid to IBA Mexico. Once you sign up for the ride you will receive a link from IBA Mexico to pay the ride fee. You will also be responsible for all your costs ( hotel, gas, food & tolls ). You must agree to the waiver and disclaimers during the ride sign up on Ridemaster. Here is a link to Ridemaster ( thanks Jason ) to sign up for the ride. Mexico SS1600 & Two Country SS1000 Ride Swag
Hotel Information Here is the information for the hotels we will be staying at for the start and in Mexico City. You should arrive at the start hotel by Friday afternoon so we can all have dinner together. Start Hotel: You should book a room at the Holiday Inn Express in Eagle Pass, TX for Friday October 17, 2025. Be Sure your reservation is cancelable just in case something happens. Approximately $165 a night. Mexico City Hotel: You should book a room at the Holiday Inn Ciudad de Mexico-Trade Center for two or three nights depending if you are leavingf Monday morning or staying until Tuesday morning. Saturday 18, October 2025 through Monday October 20, 2025 or Tuesday October 21, 2025. It is not a cheap hotel so you will want to try and book a room to try and find someone to share the room cost with. Approximately $128 a night for a room with two queen beds. You need to know where the VIN is on your motorcycle and it must be viewable, readable and match your registration. Your registration must have your name that matches your passport and drivers license. Your registration must also be current. It is not required but it would be best if you have some type of tracking device like SPOT or inReach or one of the phone tracking apps like SWTracker. Since this is not a group ride it is possible that at some point during the ride you could be riding alone so you and your motorcycle really need to be prepared. Checkout below how I prepare ( yes it is overkill ) to get an idea as to what is needed to do this ride. It is not required but it would be best if you have some type of tracking device like SPOT or inReach or one of the phone tracking apps like SWTracker. The route in Mexico includes mostly toll roads and you need to have Mexican currency to pay the tolls or a valid toll transponder that works in Mexico, ( see below ). US dollars and credit cards are NOT accepted at the toll booths. I recommend at least $100 dollars in Mexican currency. We had our first Zoom meeting August 14, 2025 and our second Zoom meeting September 18, 2025. I am going to be staying at the Holiday Inn Express & Suites Eagle Pass hotel arriving Friday, October 17, 2025 where we will meet for an early dinner Friday at 5:00 PM at a restaurant near the hotel. There is a LOT of information on this webpage about what is needed and recommended to ride this SS1600 in Mexico. If you are planning on riding with us to Mexico PLEASE take your time to review all of the information below as it will help make your ride go smoother. It may be overkill but you can never be over prepared. If you want to find out more about riding in Mexico go to my YouTube Channel and checkout some of the 100+ videos I recorded of the Mexico SS1600 and 2022 and 2023 rides to Mexico, Central America and Panama.
|
|||||||||||||
|
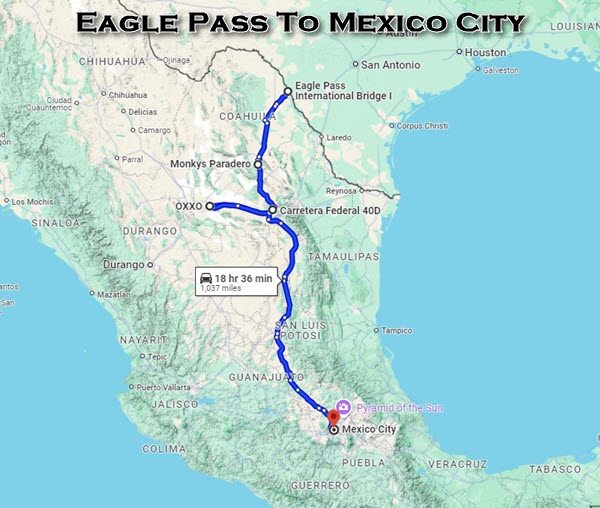
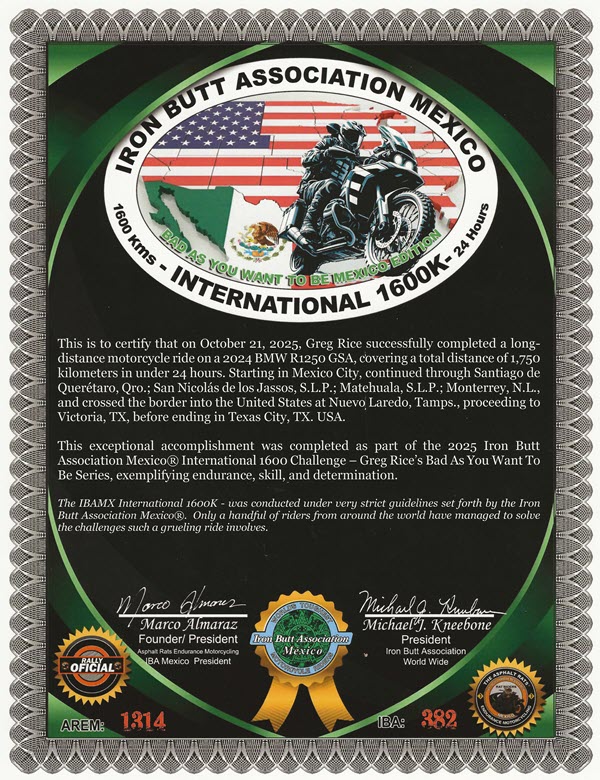
The planned route for the Mexico SS1600 will be starting in Eagle Pass, TX and ending in Mexico City, Mexico. The return ride will start in Mexico City, Mexico and end in Texas City, TX. You can do this ride on any motorcycle and a ADV motorcycle is not required. I rode my BMW RT on the September 2023 ride and it did just fine. I know others who have ridden Gold Wing's, C14's and FJR's to Panama and back with no problems. You must have a minimum of a 200 mile fuel range at interstate speeds ( 80 MPH ) for this ride. This ride will have two opportunities to obtain IBA certificates, one is a Mexico SS1600 ( SS1000 ) and the other ride is a two country SS1000. Currently the planned start date is October 18, 2025 in Eagle Pass, TX on and ending in Mexico City at night on October 18, 2025 where we will spend two nights there, the 18th and 19th. We will start our ride back to the US on the morning of October 20, 2025 around 6:00 AM. I always register with the US State Department Smart Traveler Enrollment Program ( STEP ) on my rides that I am crossing a border. This program allows you to register your trip with the US State Department so that they can notify you of important information from the Embassy about safety conditions in your destination country, helping you make informed decisions about your travel plans. Help the U.S. Embassy contact you in an emergency, whether natural disaster, civil unrest, or family emergency. Help family and friends get in touch with you in an emergency. I have ( and you should consider ) a medical transport insurance called MedJet Assist that provides hospital to hospital transportation on an air ambulance or other means. I also have the motorcycle shipping option that will handle shipping my motorcycle back home if I am transported by MedJet. I first signed up for MedJet in 2009 when I was selected for the Iron Butt Rally and it was required. It is not required to ride on this ride but if you ride a lot far from home even just in the US it is a nice policy to carry. Mexico requires a bond on your motorcycle that you get back once you check out of Mexico. It is based on the value of the vehicle and for my past rides it was around $400. You can do this before going to Mexico ( see information below ) or at the entry point in Allende / Piedras Negras at the Banjército office. You will get the bond back the day after stamping / checking out of Mexico, it is best to use a credit card to pay the bond. This is important information. You do need to have your passport, copy of your registration or title and drivers license for the border crossing. Here is some of the things you should do if you are looking to do this ride as a long distance endurance ride to help make it more successful. First is to be prepared as best you can to solve most any issues that could happen during the ride. One main thing is to have a good tire repair kit and air compressor. I also carry three tire spoons in case I need to remove the tire on the road. I also carry a tow rope to tow me or another rider if the engine stops working. There are may places along the route that there may be no help for many miles. Another good idea is to carry multiple portable battery packs ( see link below ) to keep your headset and phone charged during the ride. Most headsets last around ten hours on a charge so having the portable charger is a great way to keep it charged. I also have multiple USB ports connected to my motorcycle that I could also use to charge my headset and cell phone. You need to have multiple flashlights in the event you have an issue at night and need light to resolve the issue. I carry replacement cables for all of my devices as it may be hard to find them. I also carry two first aid kits that I combine into one to be sure I have the ability to provide some medical attention if needed. Click Here For A ZIP File That Contains A GPX File Of The Mexico SS1600 Planned Route Bluetooth Headset Use We need to decide on what Bluetooth headset everyone uses to see if we can be able to communicate with everyone during the ride. I happen to have a Sena 60S and a Cardo Edge Bluetooth headsets so I can adapt. It would be good if we all have the same brand of headset and newer model that has the ability to connect with the mesh intercom. This is our current cities along our route of course things can change depending on fuel range, border crossings and other types of incidents. An interactive Google map of my route is below is below. Mexico SS1600 Ride
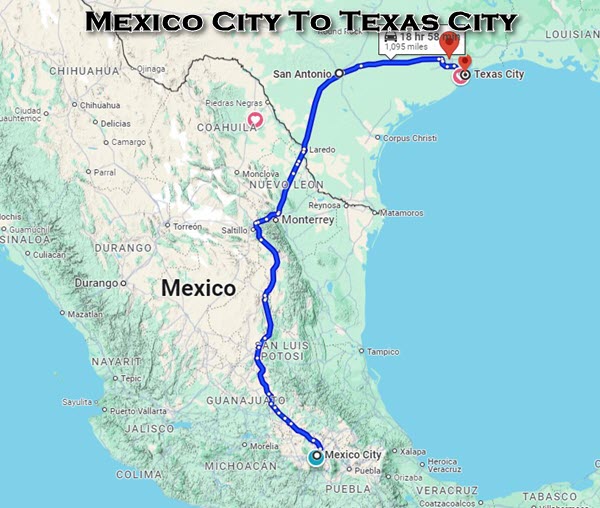
Two Country SS1000 Ride
Mexico Weather - Current & Forecast For 7 Days Along The Route Mexico has some fees you have to pay to enter the country, they are not expensive, see below. It is a great idea to get Mexican currency before you do this ride because this is a long distance endurance ride you don't want to take time stopping to exchange currency. It is pretty easy to get most of the countries currency from your bank or local currency exchange. The route uses a lot of toll roads that are expensive in Mexico so most of the Mexican currency will be used for the tolls, there are a lot of them and some are not cheap. The tollbooth's do NOT take US dollars or credit cards. My ride from Fort Lauderdale, FL to Eagle Pass, TX is 1,500 miles and I should be able to do that in one day. I will be staying at a hotel there in Eagle Pass, TX before we start the ride into Mexico. On this ride the route through Mexico is 1,033 miles and should take around 18 hours to complete. Here is information on what you need at a minimum to cross into Mexico with your motorcycle. Route in Mexico Is In Central Time Zone - The Mexican government has voted to eliminate daylight saving time in 2023. Border Operations - Banjército Nuevo Laredo and Allende/Piedras Negras Are 24 Hours
Roads In Mexico On The Route Eagle Pass To Mexico City
Roads in Mexico On The Route Mexico City To Texas City
Mexico Border Crossing Fees
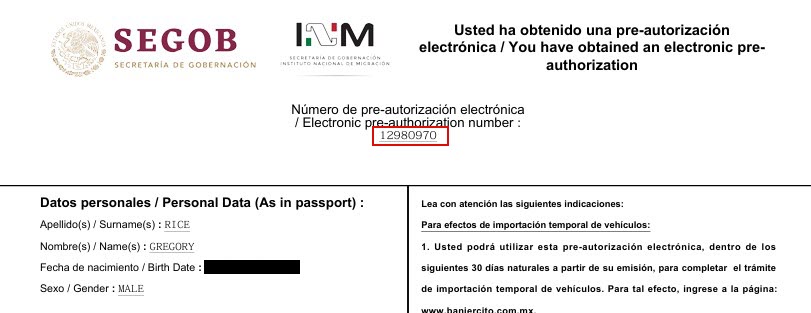
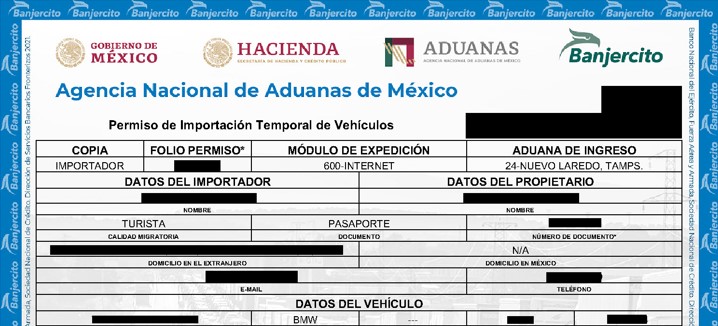
Mexico TIP ( Temporary Vehicle Permit ) & FMM ( Tourist Card ) Here is some good information if you are planning on riding to Mexico to speed up the border crossing. There are websites that allow you to pre-register you and your motorcycle so that you can just show the information at the border get your passport stamped and speed up the process especially if there is a line of others waiting. There are two timeframes you can get a FMM ( Tourist Visa ) and TIP ( Temporary Vehicle Permit ), 7 days and 180 days. If you are certain that you will not be in Mexico for more than 7 days then I would pick the 7 day timeframe when submitting the online forms. There is no fee for the 7 day FMM and TIP. For the TIP you will still have to pay the $400 bond but no TIP fee. If you pick the 180 days then you will pay a $40 fee for the FMM and a $50 fee for the TIP. After you pre-register yourself and get the Electronic pre-authorization number ( top of form ) and before you go to register your motorcycle on the third link below to get you TIP ( temporary vehicle import permit ) you must have PDF copies of your passport and your registration or title. The PDF file size cannot be larger than 2.5 mb. Towards the end of the process of applying for your TIP you will upload the two PDF documents that is used for them to verify your information. It will take 2 to 3 days before you receive your TIP by email ( be sure to provide a good email address ). You need to have your passport and credit card available while doing steps two and three. The credit card is to pay for your TIP. All three of the websites linked below offer translation to english. Here are three steps you would need to do to have all of your paper work done when you arrive at Mexican Immigrations. You can do some of them or none of them prior to entering Mexico. The more you have completed the faster you will finish Mexico Immigration. Step One: You must do the pre-registration for yourself first as there is a number ( Electronic pre-authorization number ) that is provided that you will need when you pre-register your motorcycle. That is the link below. You can pre-register yourselves on this website: https://www.inm.gob.mx/sae/publico/en/pre-autorizacion.html
Step Two: You can register your vehicle on this website to obtain your TIP by email:https://www.banjercito.com.mx/registroVehiculos/ This is the step you need the PDF of your passport and vehicle registration. There will be a place to upload them will filling out the form. Be sure they are readable as they will review the documents before providing the TIP. Be sure to use a current email address while filling out the form because once the TIP is approved it will arrive by email. You will need your credit card to pay for the TIP and the bond at the end of filling out this form.
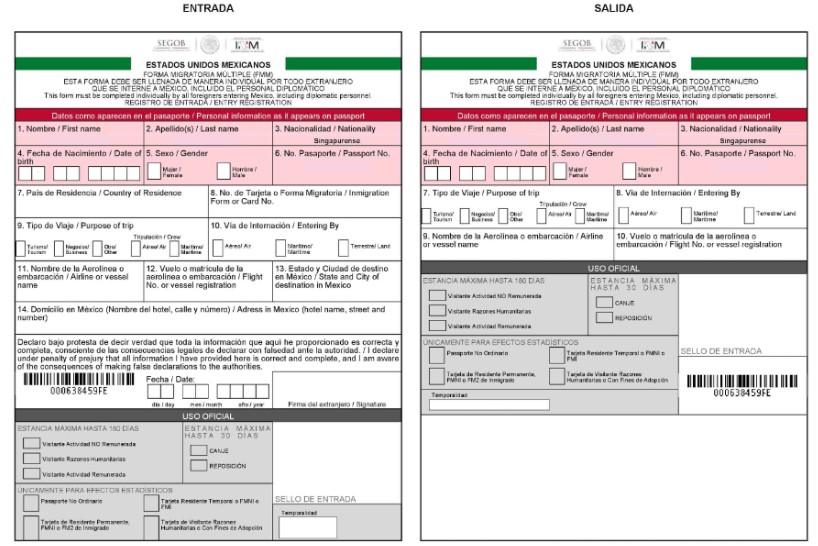
Step Three: You can obtain your FMM ( tourist visa ) when you arrival date is less than 30 days at this website: National Institute of Migration - Multiple Migratory Form. Obtaining this tourist visa online has a few steps you must do do get the FMM tourist visa. Fill out the form on the National Institute of Migration Website. You will receive an email after completing the form. In the email there will be a link to click to download the FMM tourist visa once you pay the fee and it is approved. Then register an account with the National Institute of Migration website to be able to upload an image of your passport and then be able to pay the tourist visa fee, around $43.
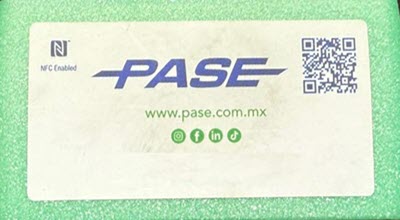
This is what the Mexico FMM touris visa looks like Mexico Toll Transponders If you are planning on riding lots of toll roads in Mexico then you should get a toll transponder to help reduce the time you spend at toll booths. It take a lot of time to stop and take off your glove and then get money out to pay the toll. If you have a toll transponder you can just ride through without having to stop. You can only buy the toll transponders in Mexico. They will not ship them to the US. We will be stopping at a OXXO store so riders can buy a toll transponder if they choose. There are two toll transponders that we have used successfully that are sold at OXXO, TeleVia and PASE, both worked on all of the toll roads we rode while riding the length of Mexico. When you buy the toll transponder at OXXO you will pay for the transponder, about 150 pesos ( $7.50 ) and then you can ask the clerk to add money right away to the transponder account. You can use a credit card to add money to the transponder account. DO NOT register the transponder unless you have a Mexican cell phone number, it will not work if you use a phone number from outside Mexico. Since we was riding the full length of Mexico in both direction we added 2,000 pesos ( $100 ) to the transponder right after buying it. It took the OXXO clerk a couple times to get the transaction to process ( she was entering the wrong transponder ID ) but it worked and really saved us a lot of time especially since there was 3 of us on this last ride in March 2025. We rode through over 40 toll booths during the ride so it really saved us a lot of time. There were a few toll booths the transponders did not work, we are not sure why, maybe just an error with the system. We also found it best to wait to pull up to the toll booth until after the person in front of us had gone through the gate. Sometimes the toll booth attendant had to scan the transponder manually. Either way we saved a lot of time using the toll transponders.
You need to know where the VIN is on your motorcycle and it must be viewable, readable and match your registration. Your registration must have your name that matches your passport and drivers license and they must be current. Mexico requires vehicle insurance for the time your vehicle is in Mexico and your US based insurance coverage is not acceptable. You can buy the insurance for just a few days or up to a annual plan. There are companies that you can use to buy the required insurance for Mexico prior to arriving at the border. I used a company called MexPro and they have been around for a while and are reputable. There are many other companies that you can use also. The one I used was recommended to me by people in Mexico and some friends who have been to Mexico many times and used them. You can buy the minimum liability insurance or purchase full coverage like you would have in the US. I have purchased the required Mexican vehicle insurance on this website: https://www.mexpro.com/ The Mexico toll roads require Mexican currency but the gas stations, stores and restaurants all take credit cards. There should not be a language barrier because of the route I chose. It is a lot of toll roads which are safer and many of the people who work at the gas stations speak a little English. I chose toll roads because they are good roads and they have roadside service and towing built in to the cost of the tolls. You will want to hold on to your toll receipts as it has the phone number to call if you need help. There are police and military checkpoints through out Mexico and they may ask you to show your passport and some may even ask for your drivers license and vehicle insurance. No one has ever asked me for a bribe. We will enterer Mexico at Piedras Negras and ride about 40 miles south of the border where we will stop at Banjército office to get our passport stamped and Mexico Tourist Card and TIP ( vehicle temporary permit ), it should be quick and efficient. The route through Mexico is 1,037 miles and should take around 18 hours. I have some good experience from ridding in Mexico and using the toll roads and they are the safest and best way to attempt IBA rides. The SS1000 ride back to the US will start in Mexico City and end in Texas City, TX on October 21, 2025 in the early AM. This ride will be called a Two Country SS1000 with a unique and nice looking certificate. The ride will take around 18 hours to complete.
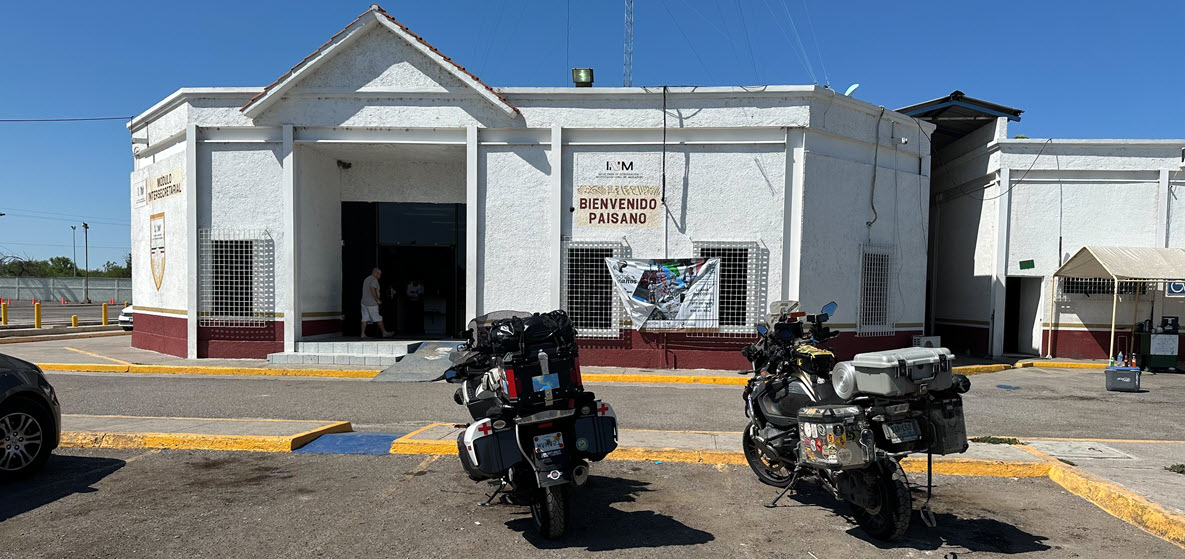
Banjército / Aduana ( Customs ) in Nuevo Laredo - Where We Will Check Out Of Mexico Mike and I at the Allende/Piedras Negras, Mexico Aduana ( Customs ) September 2023
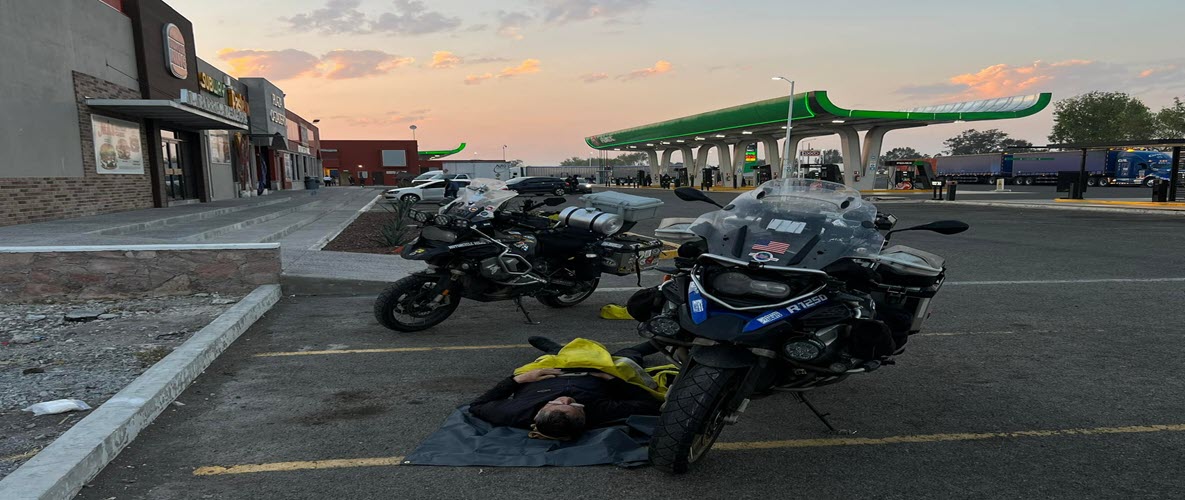
"Hotel" in Mexico on the ride back north from the Panama Canal - April 2022 - It was a LONG day.
Exiting Mexico on the ride back north from the End Of The Road - April 1, 2025 During my past rides I kind of figured out what I like to carry with me so I feel comfortable I am ready for the ride. Here is a list of items I will be carrying that I feel is about the minimum needed to be able to get us back on the road. The list of items may seem like it is over kill but if you break down in the middle of the night in Mexico or Central America you will be glad you have what you need.
I am back on a BMW R1250 GSA so lets roll! I have done a few modifications that help me be able to ride farther, longer and more comfortable. The changes I made to the BMW GSA help make it a better long distance riding motorcycle. Many of the modifications listed below did come in handy on my previous rides to Mexico and Central America and will give me a better chance of completing the ride. My motorcycle is well prepared for rides like this so I do not expect any issues related to my motorcycle. Tires I will be running tires that are round and made out of rubber on the front and rear. I used tires that are round and made out of rubber on motorcycles for over 50 years with no issues! Electronics I have a lot of electronics on my motorcycle that helps keep me informed and headed in the right direction. This includes multiple GPS, weather and weather radar, radar detectors along with other electronics. It takes a elaborate audio mixer system to get all of this information into my helmet so I do not want to take my eyes off the road when I can hear information in my helmet. I will be using my Garmin Zumo XT mounted on the right handlebar and a new Carpuride 702BS Pro CarPlay device mounted in the BMW GSA GPS cradle. My Garmin Zumo XT has the latest North America Maps from Garmin that includes all of Mexico including POI's for Mexico. I will running Google maps and Waze on my new Carpuride CarPaly device and I also have a backup phone that is a Google Fi phone with service in Mexico. With Google maps and my Garmin Zumo XT we should hopefully not get lost. One very useful thing we found out about using Waze is that it identified most of the upcoming topes ( speed bumps) and this was very useful especially at night. On this upcoming ride I am going to be using a GoPro Hero 11 camera and a Insta360 X3 camera to take video of as much of this ride as possible and I am hoping to add to those videos and get more videos of the border crossings to share for future riders making the trip. Communication During my past rides in Mexico I had a AT&T cell phone in 2022 and a Verizon cell phone in 2023 and they both worked pretty much 95% of the ride. Some of the coverage was only 3G but there was some 4G LTE around the bigger cities. I never felt like we was out of communication. Many places also had Wi-Fi and we was able to send and receive large files as needed. On the past rides to Mexico and Central America I used Cardo Bluetooth headsets and they worked well. I also have a Sena 60S headset and we can decide before the ride which brand we are going to use. On my past rides I used my Spot satellite tracking devices and was glad to have them to provides location updates for everyone and in the event of an emergency. I have a SPOT X satellite tracking devices that worked great in sending my locations and providing tracking for others who were following the ride. On the 2023 ride I added a SPOT X as it has two way message capabilities and a built-in compass that can navigate to programed waypoints. I will be using the SPOT X and the SWtracker iPhone app on this ride. My tracking devices will show my location every 5 minutes ( see Spotwalla map link below ) and when we stop for border crossings, hotels or gas stops I will mark the locations with a SPOT OK message. Both the SPOT X and SPOT GEN4 can be hired wired for power and that will keep them working without new batteries for the whole ride. AUX Lights and AUX Tank I have installed Erica lights from Clearwater Lights and R7's from Ruby Moto, The Clearwater and Ruby lights worked great last time and I am sure they will do the same on this ride. They also add a lot of conspicuity to be seen in the day time. Another benefit of the powerful aux lights is that people around us seem to think we are serious professional riders and they seem to treat us better and get out of our way. I have a 4.3 gallon AUX tank mounted over the passenger seat of my GSA that give me a total of 12.2 gallons of gas that also provided me a 400+ mile range. It may be hard to believe but the gas in Mexico is better than the gas we have in the US because they do not add ethanol to their gas so we got much better gas mileage than we do in the US. In fact there was one stretch where I rode 538 miles between gas stops. On my previous rides I had no problem finding gas as it seems like there are more gas stations than any other types of business. I have also identified gas stations that are open 24 hours along our planned route. Other Gear I have Aerostich tank panniers that are mounted on the left passenger foot peg that I have tools and supplies stored in. On the right passenger foot peg I have a 1 gallon jug for water mounted with a Garauld hydration system mount. The 1 gallon jug usually last me about 20 hours and keeps the water cold for about the same 20 hours. This is a nice way to carry things low on the motorcycle to keep the center of gravity low. I have a large tank bag by SW-Motech that I can carry things I need to get to while riding including snacks to keep me going. I also store some electronics in a box in the SW-Motech tank bag. I have a pretty elaborate audio mixer setup in the tank bag to mix the audio from multiple devices like my Garmin RV890 GPS and my radar detector. I am carrying two First Aid kits with different items in each to be sure I can take care of pretty much any thing that comes up. Riding Gear The first thing I put on before anything else is my LDComfort underwear / base layer as this is what keeps me comfortable in all types of weather from damn hot to freezing cold. LDComfort really does a great job of transferring the moisture away and keeping me dry. I have been wearing LDComfort gear for over 15 years and I can't find anything better. I wear Aerostich Darien Hi-Viz jacket and Aerostich AD1 pants that will keep me safe and dry throughout the ride. This setup works well and is comfortable enough that I may not take them off for 3 days at a time. I also wear TCX Gore-Tex boots that keep my feet dry and well protected. I will be wearing a new boot from TCX called TCX-Clima-2-Surround-Gore-Tex with some new Gore-Tex technology that should keep my feet dry. | |||||||||||||
|
Interactive Maps Below |
|||||||||||||
|
Below are three interactive maps Google route map, Spotwalla tracking map and weather map. Route Map The Google route map and the Spotwalla tracking map allow you to zoom in and out using the + and - buttons in the bottom right of the maps and you can drag the map with a mouse. You can also zoom in and out of the maps with a mouse that has a wheel. They show my planned route ( Google Map ) and below that map is a map of my current location with the use of a SPOT satellite tracking device and Spotwalla.com (thanks Jason Jonas ). Spotwalla Tracking Here is my direct Spotwalla tracking links that will open in a new browser window. Also below is my embedded Spotwalla tracking map. I have two SPOT satellite tracking devices and I transmit my location every 5 minutes with both SPOT devices. Spotwalla Tracking Link:Trip: Greg Rice - Travel Man (spotwalla.com)
| |||||||||||||

